Updated 11th July, 2019: It is a major milestone for this article to reach over 70,000 readers and from the feedback, it has been helpful to a lot of people trying their hands on building APIs with NodeJs. To make this better, I have updated code snippets in this tutorial to fix the bugs identified by most of the readers. Thank you all for you kind responses, I hope to find time soon to write another good one. Go ye and build amazing apps for the World — David Inyangetoh
RESTFul APIs have been around for sometime now. At the time of this write-up it is practically impossible for you to be a software developer without having to create and use one or more APIs.
API is an acronym for Application Programming Interface which has become an integral part of software development. “It is a set of of clearly defined methods of communication between various components” — Wikipedia.
RESTFul APIs, on the other hand, are APIs that conform to the REST architectural style. REST refers to Representational State Transfer which “is an architectural style that defines a set of constraints and properties based on HTTP”.
The commonest implementation of RESTFul web service is JSON API and that is what we will be working with in this tutorial. You can learn more about JSONAPI specifications, examples and implementation here. JSON is simply Javascript Object Notation.
In this tutorial, we build a simple API using ExpressJs and MongoDb with CRUD functions for Contacts.
Required applications
- NodeJS
- PostMan
- MongoDb
- IDE
Let’s get started…
Bootstrapping the Project
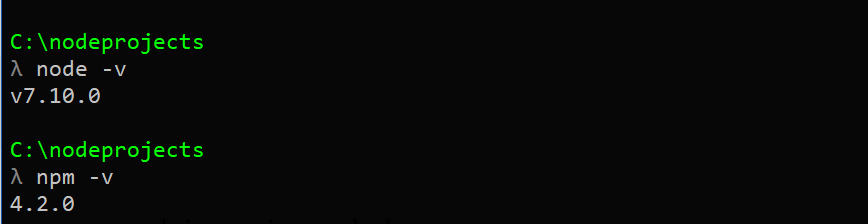
To bootstrap our project, we need to verify that we have NodeJs, NPM and MongoDb installed on our machine. To do that, open your terminal or command prompt and run
node -v
This verifies the Nodejs version installed. Run
npm -v
to verify
Node Package Manager(npm) installed. See outputbelow
Now that we have verified that Node and NPM are installed, we can continue with setting up our project. If Node is not install on your machine you should download a version compatible with your OS here and install before you continue.
Next, we need to verify that MongoDb is installed by running
mongo --version
Which outputs…

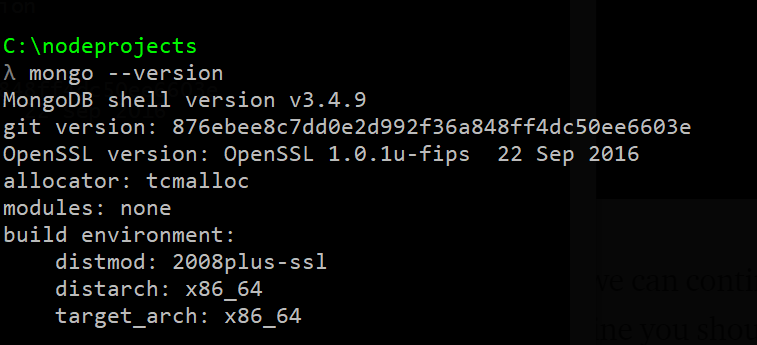
If MongoDb is not installed on your machine, you should head to MongoDb Download Center, download and install the version compatible with your operating system before you continue.
Naming Our Project
Now it is time to give a name to our project and we will call it RESTHub. We need to find a good location in our filesystem to store our project files. Personally, since I get to work with different tools and programming languages, I chose to keep my node-based projects in a directory
nodeprojects on my local drive. This is where I will create my new project directory resthub with the following commands// Navigate to the root directory of your Node projects cd C:\nodeprojects// Create directory for your new project RestHub mkdir resthub// Navigate into the directory cd resthub


Initialize NodeJs project with
npm init follow the wizard to setup the project.
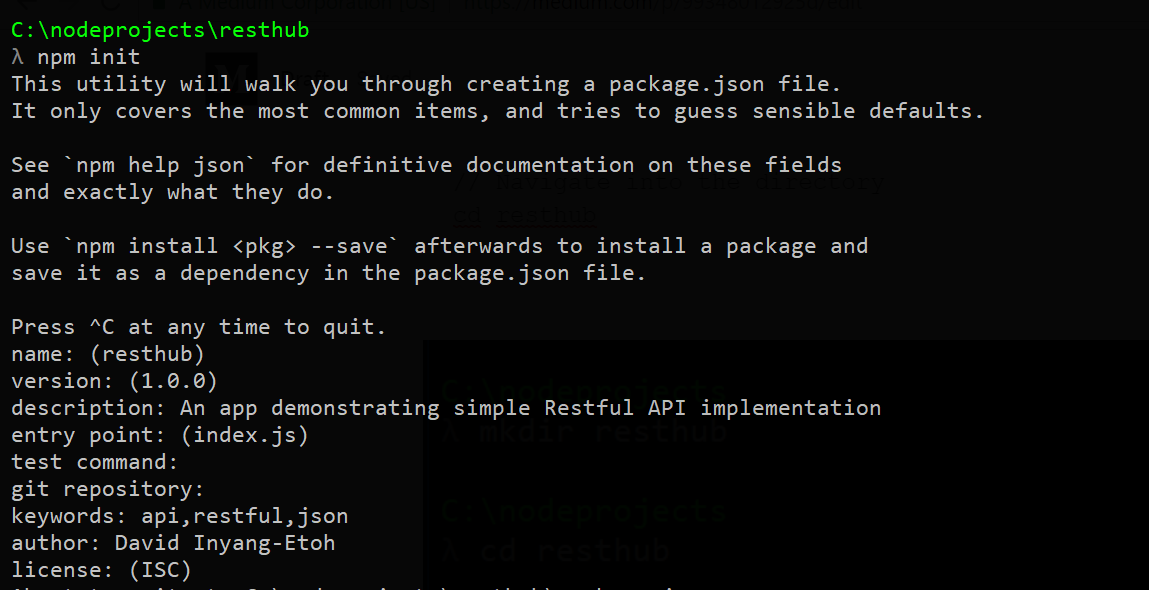
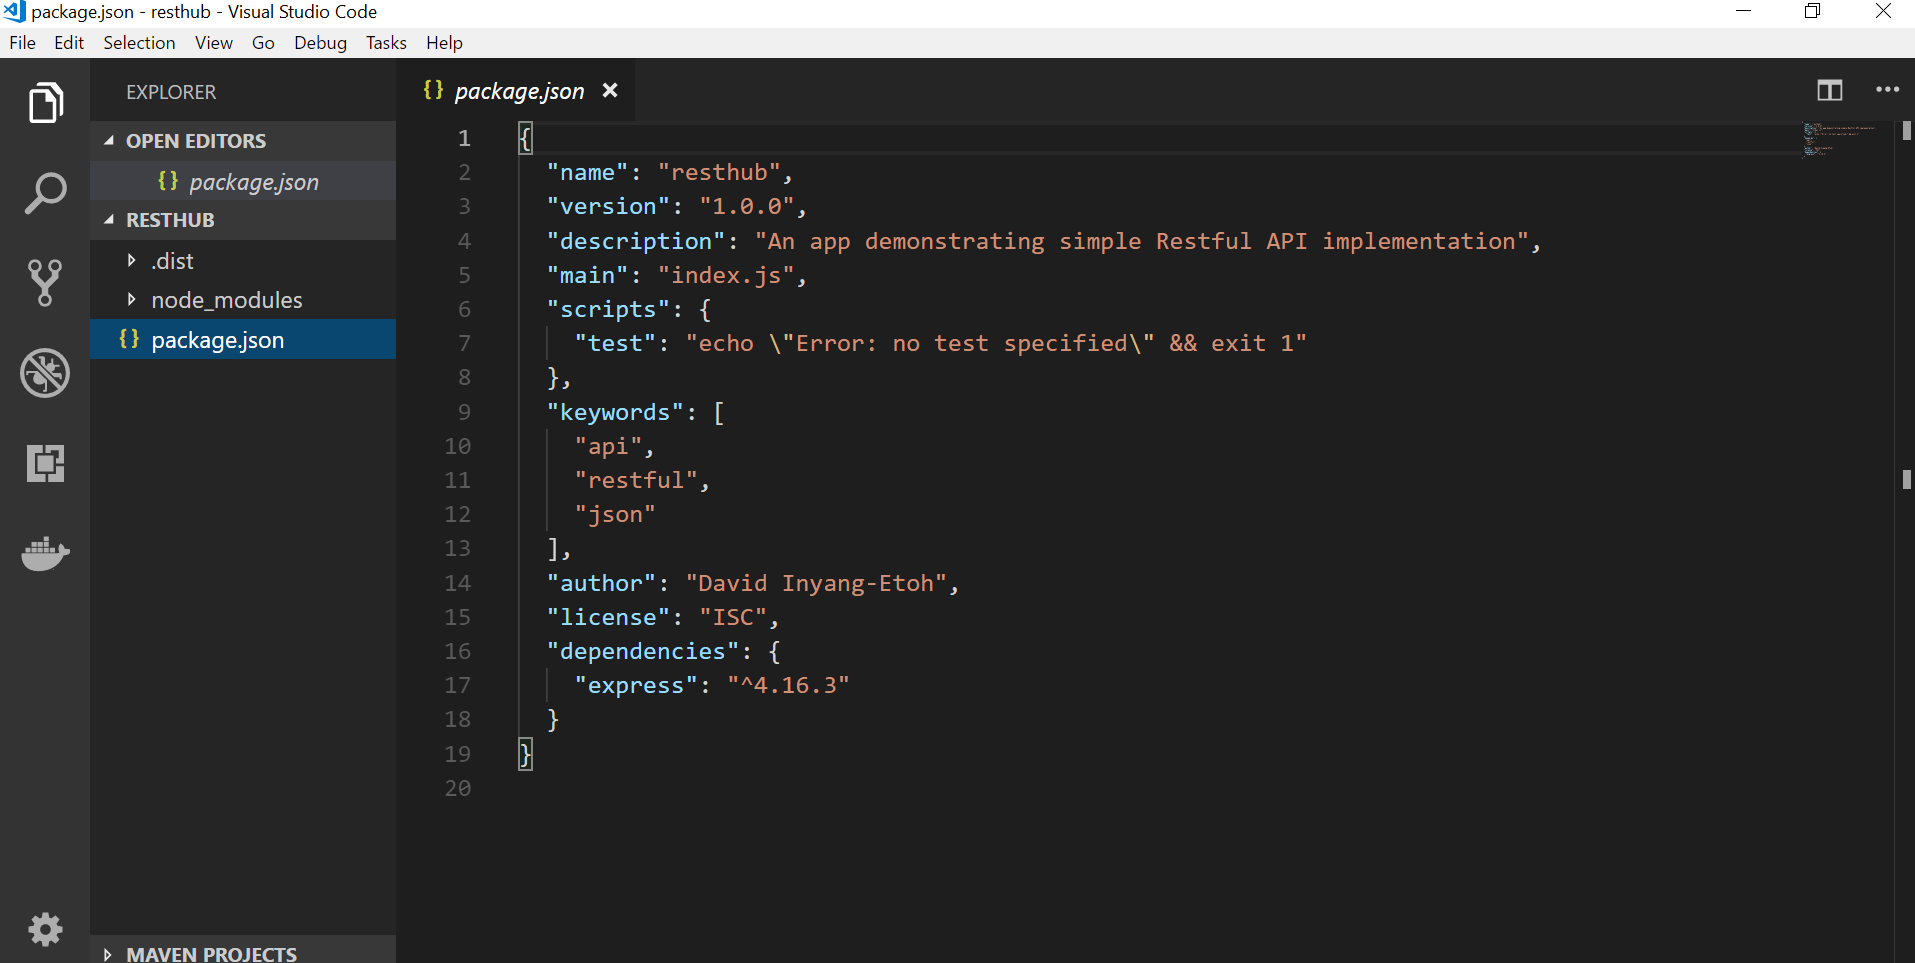
Accept the default name and version but change the description as shown above. Do not forget to change the author’s name to your name and accept the default license to generate
package.json. Do not worry about some of the inputs if you made a mistake, the file will be available in your project root directory for you to edit at will. You should a screen similar to this…
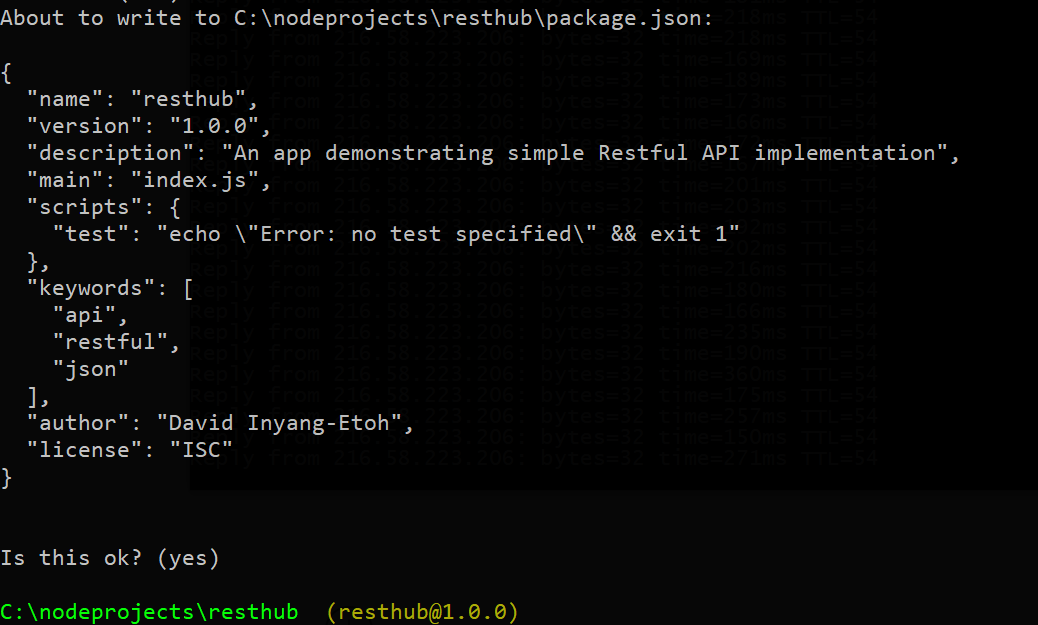
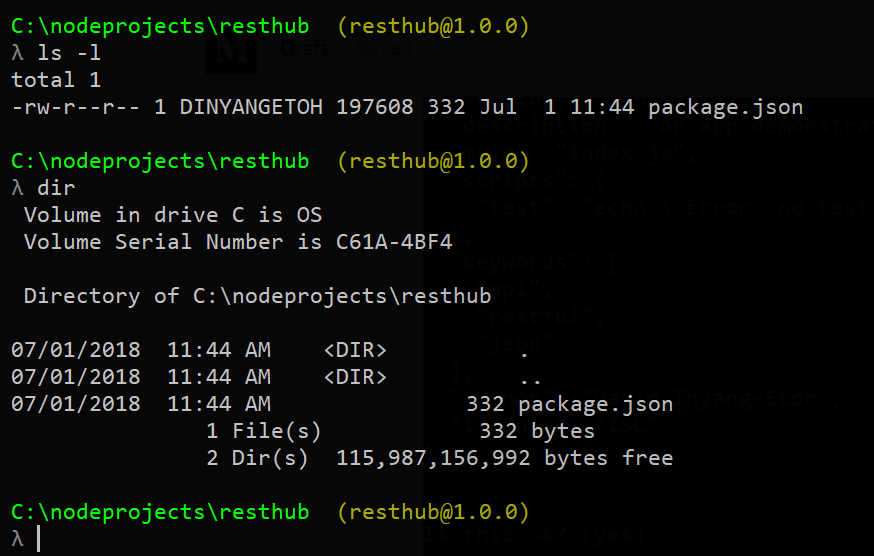
At this point, you should verify that you have a
package.json file is available n your project root by listing the files with either ls -l or dir depending on your OS.
Time to Install Express and Setup Server
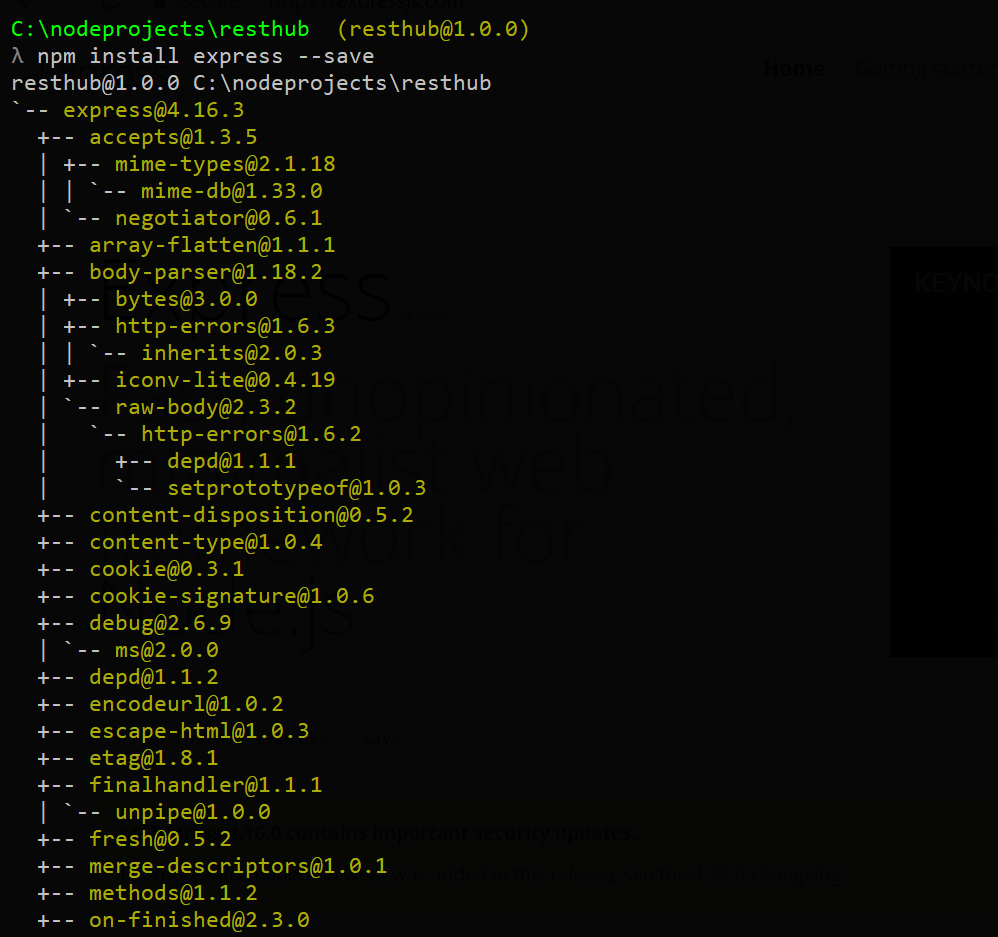
We need to run a web server in order to make our API endpoint accessible to the browser or a tool like PostMan, we shall be using ExpressJS to achieve this. If you are not familiar with ExpressJS head to the official website to learn more, otherwise let’s keep going. With npm we install Express in our project with this command
npm install express --save
It will take a while to complete the installation depending on your connection speed but in the end expressJs and its dependencies will be installed as below.

Enough of all these installations, wizards and configurations. We need to start writing code now. Time you open your preferred IDE, mine is Visual Studio Code.
Use your preferred IDE to open the project directory and create a file
index.js
You can see one directory
node_modules and one file package.json. Package.json store the nodeJs project configuration including dependencies. You can see the just installed expressjs -v4.16.3 under dependencies. Installed node packages are located in node_modules and we should not modify anything in that directory rather we should exclude with gitignore when we are pushing to a remote repository. In our package.json, we defined index.js as our app’s entry point. We need to create that file now and setup our web server.
In you IDE, create a file
index.js and add this code…// FileName: index.js// Import express let express = require('express')// Initialize the app let app = express();// Setup server port var port = process.env.PORT || 8080;// Send message for default URL app.get('/', (req, res) => res.send('Hello World with Express'));// Launch app to listen to specified port app.listen(port, function () { console.log("Running RestHub on port " + port); });
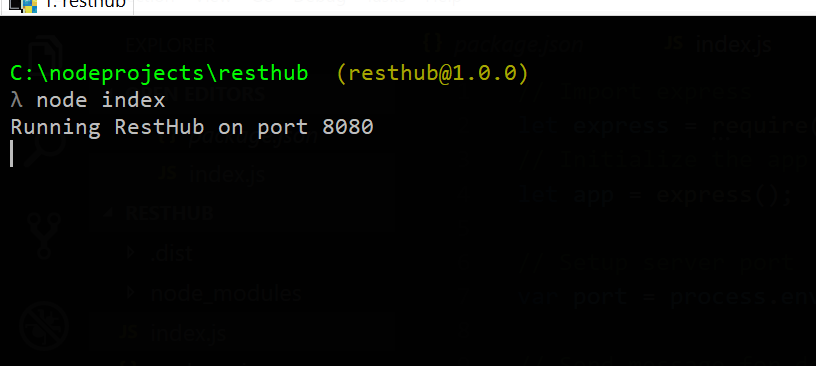
Save the file and run
node index on the terminal window. You should get this
Head to
http://localhost:8080on your browser and you should see…
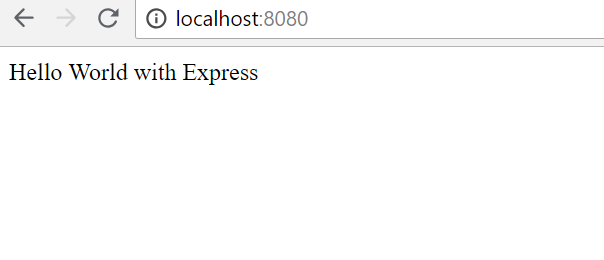
Hurray!!! Our express server is now up and running. We did it…yeah! Nothing is as sweet as getting you setup running smoothly. If your are not getting the same result as mine at the point, go over it again to check if you missed some dot or semicolon.
Alright, let’s structure our app a bit professionally. Even though I am going to follow some of the best practices as we implement this, I will keep it as simple as possible. It is a beginners tutorial and most tutorials that I have come across in the past tend to bundle everything up into one file to implement simple APIs like this. In the real world, this doesn’t happen especially if your team chooses an architecture like MVC pattern.
We are going to inject a bit of MVC into this app structure to keep our files lean and separate concerns. We need to three more files listed below…
api-routes— all api endpoint shall be defined in this filecontroller— processes HTTP requests and defines available endpointsmodel— manages database layer (request and response)
Create a file in your project root
api-routes.js and add the following code to it.// Filename: api-routes.js
// Initialize express router
let router = require('express').Router();
// Set default API response
router.get('/', function (req, res) {
res.json({
status: 'API Its Working',
message: 'Welcome to RESTHub crafted with love!'
});
});
// Export API routes
module.exports = router;
We first import
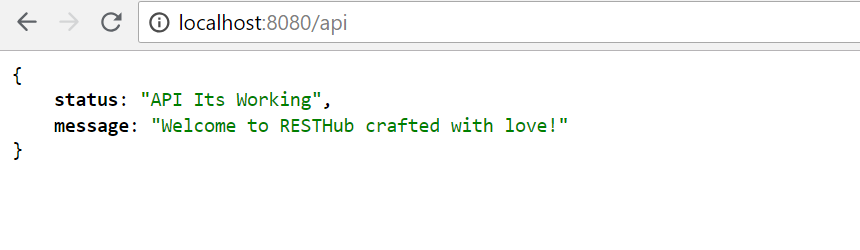
express router, set the default route and export the module so that we can import into our application. To make this route accessible, we need to modify index.js and add few lines of code to it like so.// Add the code below to index.js// Import routes let apiRoutes = require("./api-routes")// Use Api routes in the App app.use('/api', apiRoutes)
then restart the app server by ending the process on your terminal with
ctrl+c or cmd+c and start again with node index.
In the code above, we imported the
api-routes file and instruct our app to use these routes whenever a user visits example.com/api or http://localhost:8080/api in our case. Test if it works by visiting http://localhost:8080/api, you should see this screen
Yeah! It worked. You can take a break and drink a bottle of water like I just did. We are making good progress but we need to fix a little bottleneck to make our progress smoother.
Our current setup requires that we restart the server each time we make changes to our files or add new ones. This can become stressful and frustrating sometimes but there is a quick fix for it. There is a node module that provides that quick fix; watches your files and restarts
express-server when there are changes. It is best to install this module globally as you may need it in other projects like so.npm install -g nodemon// On Mac or Linux sudo npm install -g nodemon
Now that you have installed nodemon, start your app with
nodemon index instead and change the text in the default route from Hello World with Express and Nodemon and refresh your browser to view the changes.
Cool, we do not have to worry about restarting our app server again whenever we make changes.
Setting Up MongoDb
I want to assume that you have MongoDb installed on your machine otherwise, visit Mongodb Download Center to download and install. Open another terminal window and start the
mongodb-server with this commandmongod
you will get an output similar to this


keep this window open in order to use MongoDb. Head to your project root terminal and install these packages
- mongoose
npm install mongoose --save - body-parser
npm install body-parser --save
Mongoose is Nodejs package for modeling Mongodb. It helps you handle validation and business logic for mongodb on Nodejs. You can learn more here.
Body-parser enables your app to parse data from incoming request like form data via urlencode. We need to import this to our app and use them.
Modify
Update: I have updated the Mongoose connect line to add
index.js with these linesUpdate: I have updated the Mongoose connect line to add
useNewUrlParser option and fix the deprecation warning// Import Body parser let bodyParser = require('body-parser');// Import Mongoose let mongoose = require('mongoose');// Configure bodyparser to handle post requests app.use(bodyParser.urlencoded({ extended: true }));app.use(bodyParser.json());// Connect to Mongoose and set connection variable // Deprecated: mongoose.connect('mongodb://localhost/resthub'); mongoose.connect('mongodb://localhost/resthub', { useNewUrlParser: true});var db = mongoose.connection;
Your complete
index.js should look like this// Import express
let express = require('express');
// Import Body parser
let bodyParser = require('body-parser');
// Import Mongoose
let mongoose = require('mongoose');
// Initialise the app
let app = express();
// Import routes
let apiRoutes = require("./api-routes");
// Configure bodyparser to handle post requests
app.use(bodyParser.urlencoded({
extended: true
}));
app.use(bodyParser.json());
// Connect to Mongoose and set connection variable
mongoose.connect('mongodb://localhost/resthub', { useNewUrlParser: true});
var db = mongoose.connection;
// Added check for DB connection
if(!db)
console.log("Error connecting db")
else
console.log("Db connected successfully")
// Setup server port
var port = process.env.PORT || 8080;
// Send message for default URL
app.get('/', (req, res) => res.send('Hello World with Express'));
// Use Api routes in the App
app.use('/api', apiRoutes);
// Launch app to listen to specified port
app.listen(port, function () {
console.log("Running RestHub on port " + port);
});
Everything should work fine. It is now time to setup our controller to handle API request and Model to save/retrieve data from the database. We will implement a simple data model the stores contact information with the following details:
- Name
- Phone
- Gender
We will implement the following endpoints
GET /api/contactslist all contactsPOST /api/contactscreate new contactGET /api/contacts/{id}retrieve a single contactPUT /api/contacts/{id}update a single contactDELETE /api/contacts/{id}delete a single contact
We are going to two (2) more files
contactController.js and contactModel.js and paste these codes.// contactController.js// Import contact model Contact = require('./contactModel');// Handle index actions exports.index = function (req, res) { Contact.get(function (err, contacts) { if (err) { res.json({ status: "error", message: err, }); } res.json({ status: "success", message: "Contacts retrieved successfully", data: contacts }); }); };// Handle create contact actions exports.new = function (req, res) { var contact = new Contact(); contact.name = req.body.name ? req.body.name : contact.name; contact.gender = req.body.gender; contact.email = req.body.email; contact.phone = req.body.phone;// save the contact and check for errors contact.save(function (err) { // if (err) // res.json(err);res.json({ message: 'New contact created!', data: contact }); }); };// Handle view contact info exports.view = function (req, res) { Contact.findById(req.params.contact_id, function (err, contact) { if (err) res.send(err); res.json({ message: 'Contact details loading..', data: contact }); }); };// Handle update contact info exports.update = function (req, res) {Contact.findById(req.params.contact_id, function (err, contact) { if (err) res.send(err);contact.name = req.body.name ? req.body.name : contact.name; contact.gender = req.body.gender; contact.email = req.body.email; contact.phone = req.body.phone;// save the contact and check for errors contact.save(function (err) { if (err) res.json(err); res.json({ message: 'Contact Info updated', data: contact }); }); }); };// Handle delete contact exports.delete = function (req, res) { Contact.remove({ _id: req.params.contact_id }, function (err, contact) { if (err) res.send(err);res.json({ status: "success", message: 'Contact deleted' }); }); };
The controller defined the method that handles
request and response from different API endpoints. We first of all import the contactModel and use its instance to handle CRUD (Create, Retrieve, Update and Delete) functions of the API. Here is the code for the contactModel.js// contactModel.jsvar mongoose = require('mongoose');// Setup schema var contactSchema = mongoose.Schema({ name: { type: String, required: true }, email: { type: String, required: true }, gender: String, phone: String, create_date: { type: Date, default: Date.now } });// Export Contact model var Contact = module.exports = mongoose.model('contact', contactSchema);module.exports.get = function (callback, limit) { Contact.find(callback).limit(limit); }
In the model, we import
mongoose, created the database schema for contacts and exported the module to make it accessible. The last update will be adding contact routes to our api endpoints. Here is the full code for api-routes.js// api-routes.js// Initialize express router let router = require('express').Router();// Set default API response router.get('/', function (req, res) { res.json({ status: 'API Its Working', message: 'Welcome to RESTHub crafted with love!', }); });// Import contact controller var contactController = require('./contactController');// Contact routes router.route('/contacts') .get(contactController.index) .post(contactController.new);router.route('/contacts/:contact_id') .get(contactController.view) .patch(contactController.update) .put(contactController.update) .delete(contactController.delete);// Export API routes module.exports = router;
Wow! It has been a really long ride. We are done cooking and it is time to test our api endpoints.
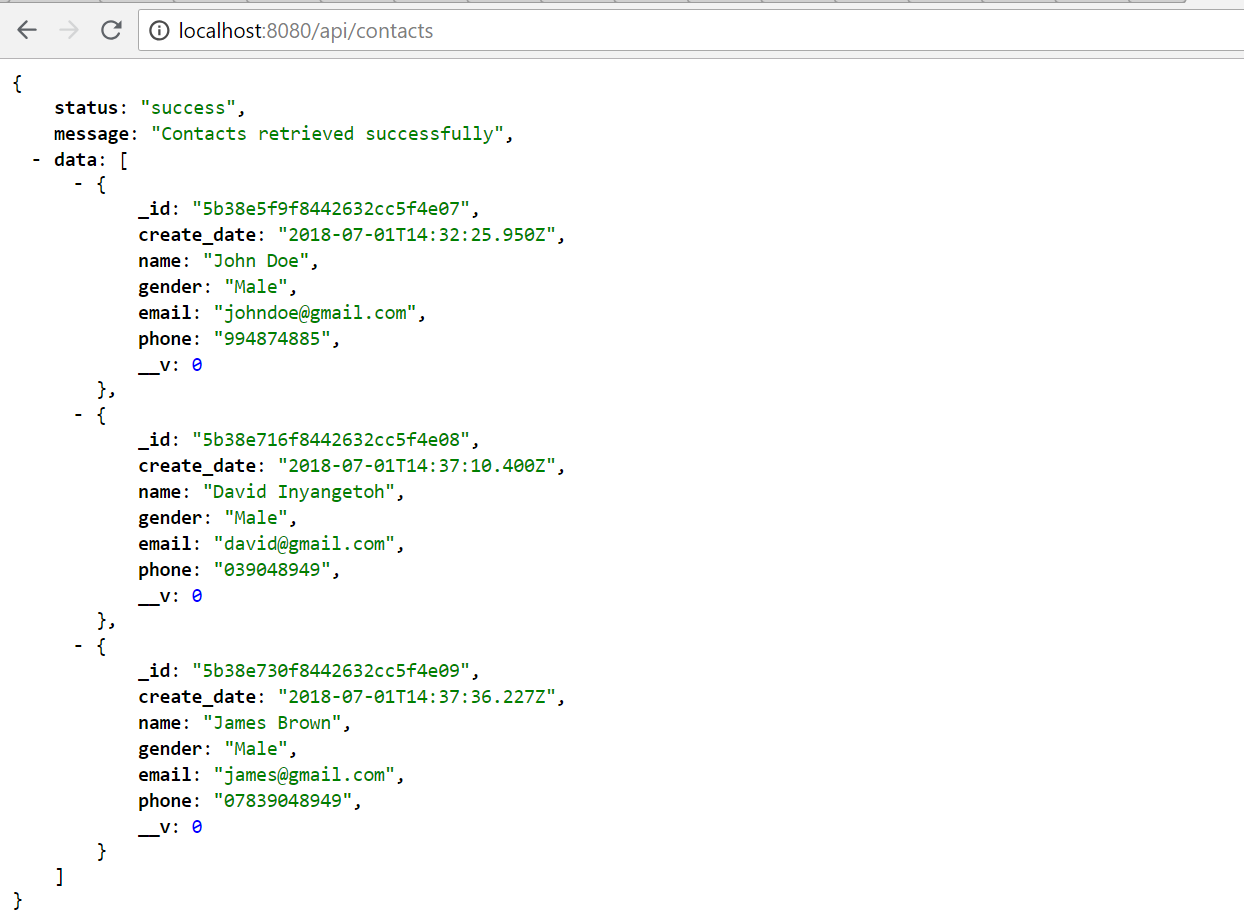
Let’s try with the browser. Visit
http://localhost:8080/api/contacts you should get this screen
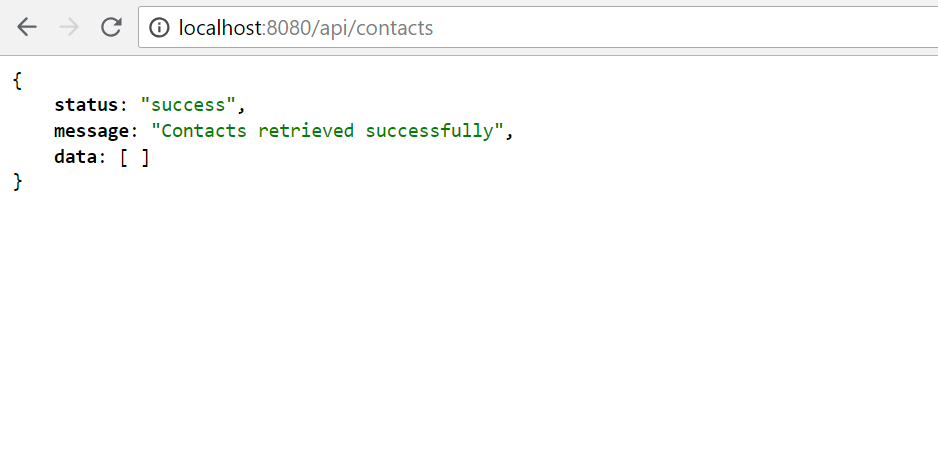
Looks good. We don’t have any contacts yet in our collection. We need to add a few contacts to it. Postman is a very good tool for test and debugging API endpoint, if you have one installed on your machine, get it here. It looks like…

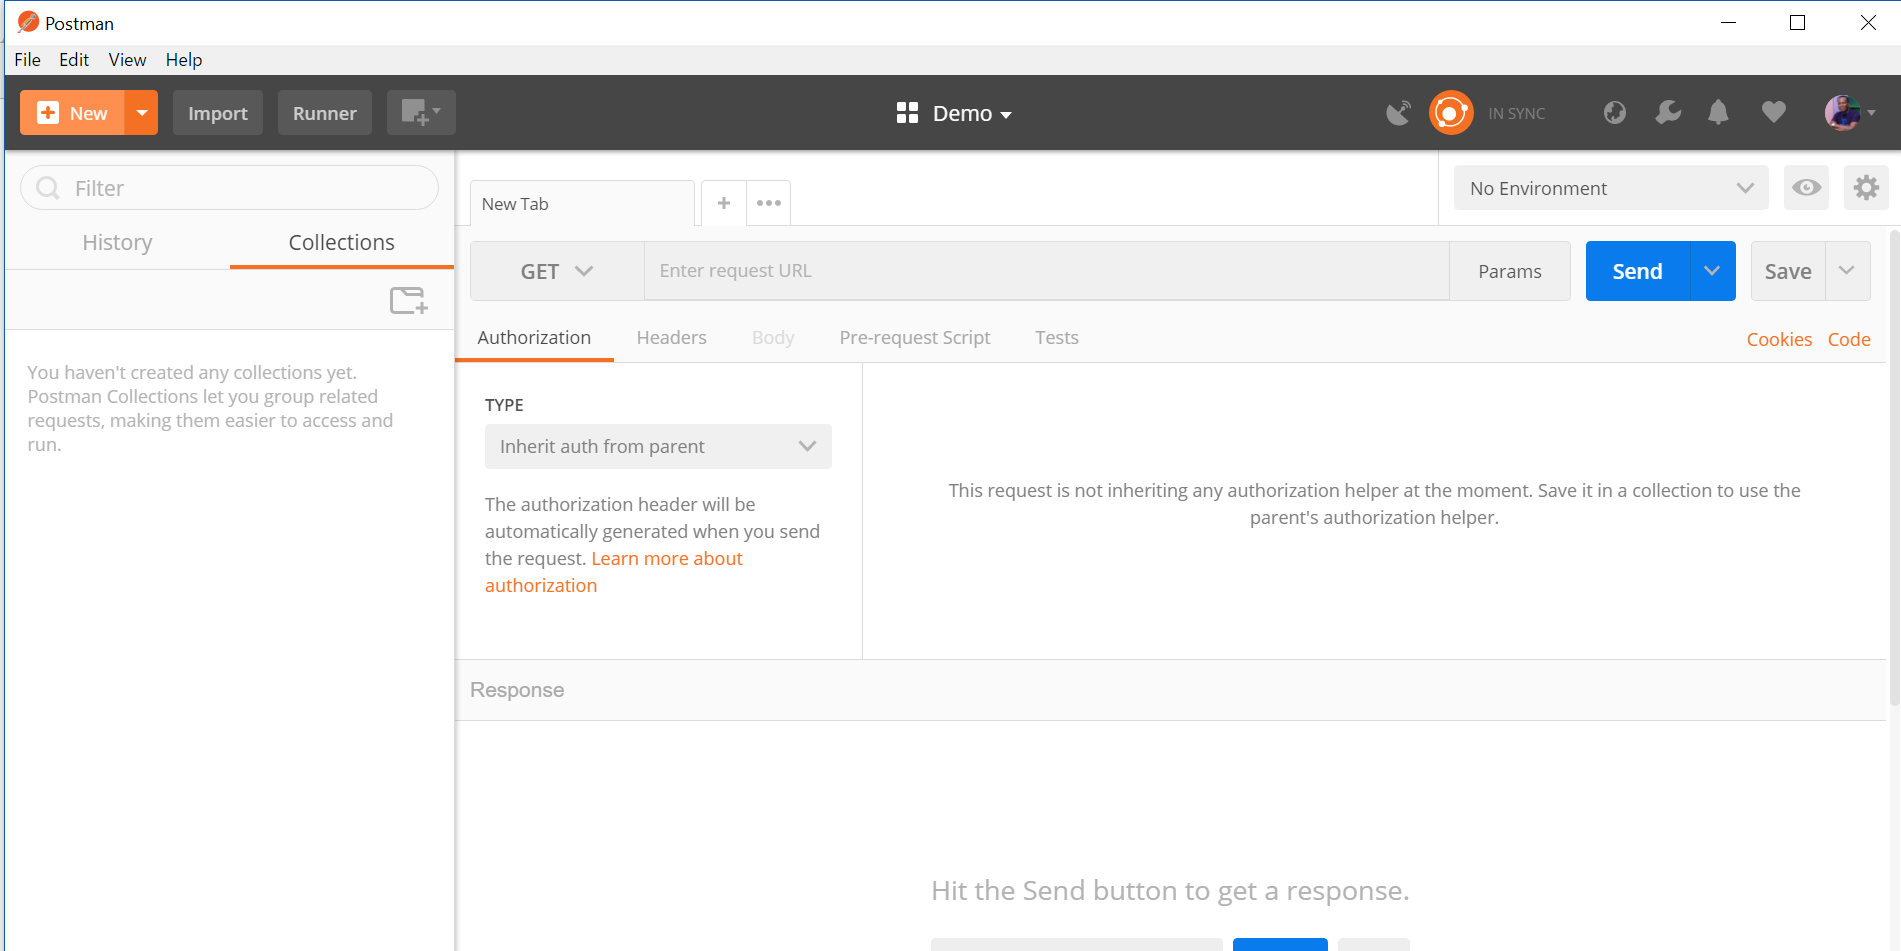
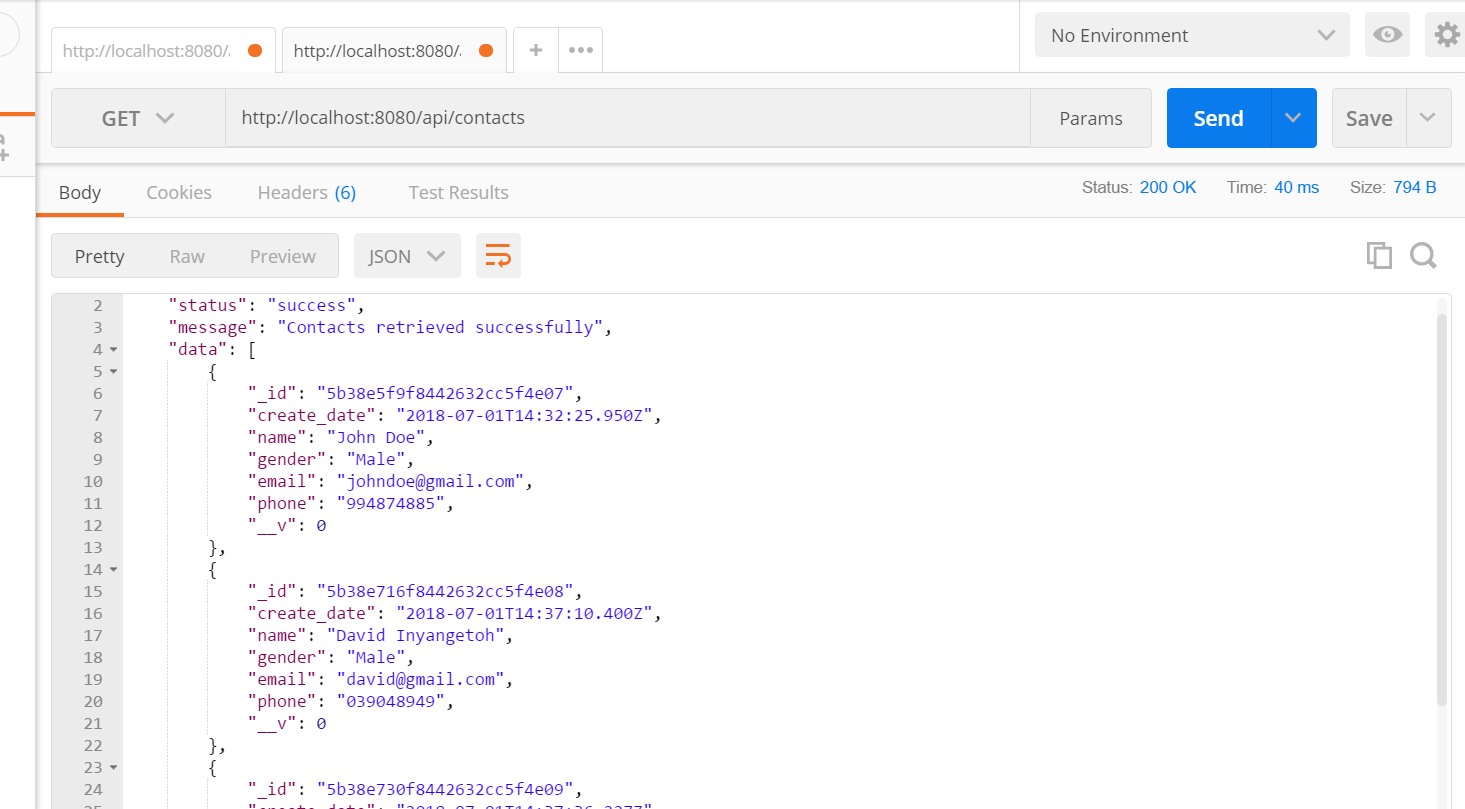
I have just tested the
/api/contacts on Postman and got the same output.
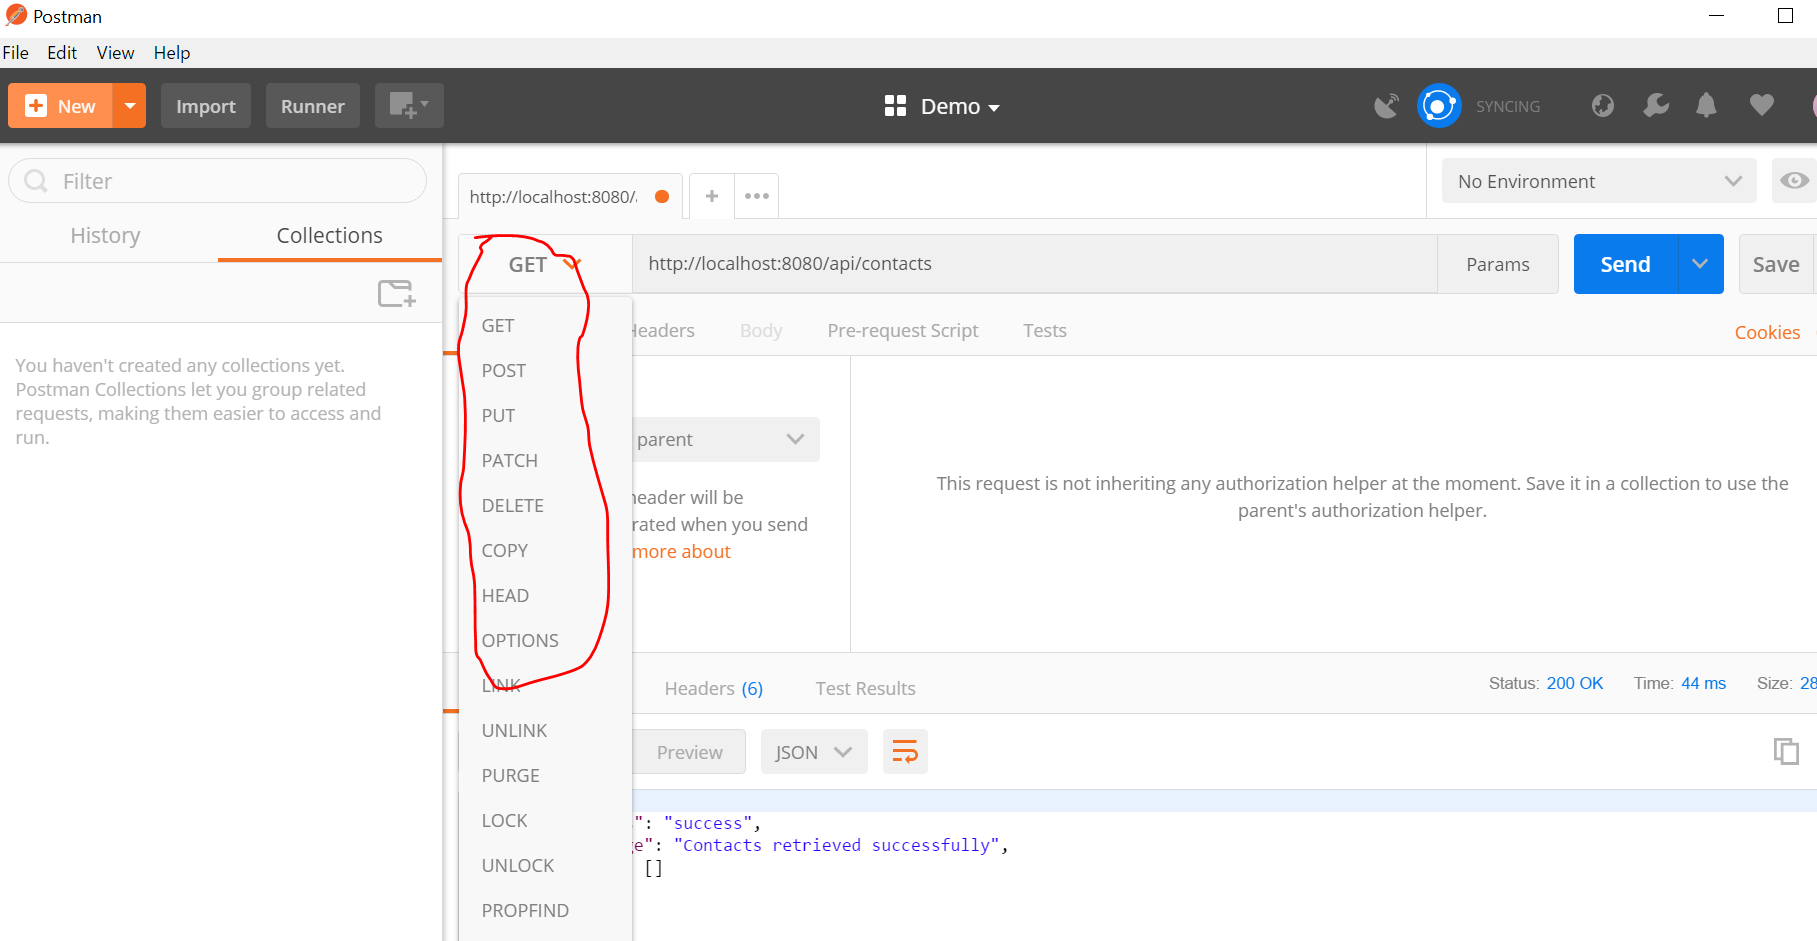
It also supports a long list of request types including basic HTTP
GET, POST, PUT, DELETE.
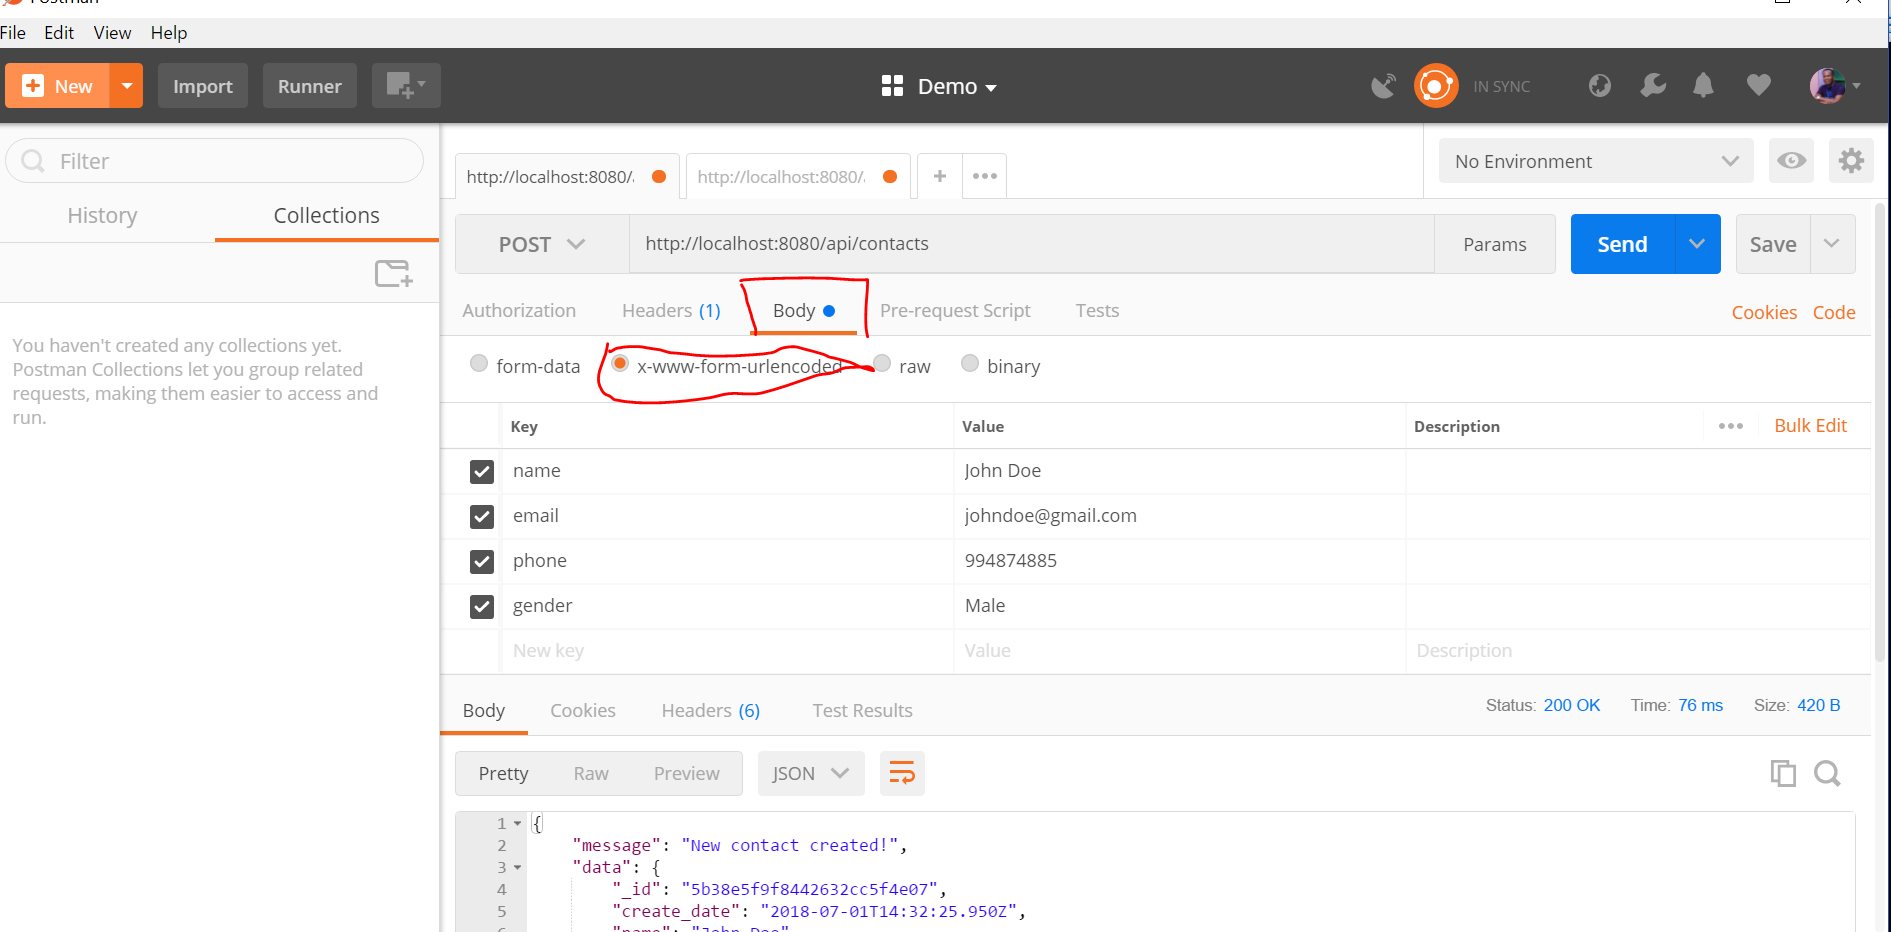
To add new contact, change the method from the dropdown to
POST, select Body tab, provide values for key:value input boxes under body tab and click send when you are done. See example below:
Change the values to create another contact. Open another tab and use the GET request to view all contacts like so.

Refresh your browser to see if it has been updated. You should get this screen.

Alright guys, we have come to the end of our long session. Go ahead and try out
update and delete. Try and build something cool and spread the Gospel. You can catch me on twitter, facebook, github and linkedin via @dinyangetoh
Oh, I nearly forgot to add the github link for the source files. Feel free to clone it here and have fun building amazing apps.
Updated Links:
Heroku App: https://resthub2.herokuapp.com
Comments
Post a Comment